- Mon, Feb 2022
- |
- Moran’s Landscaping & Excavation LLC
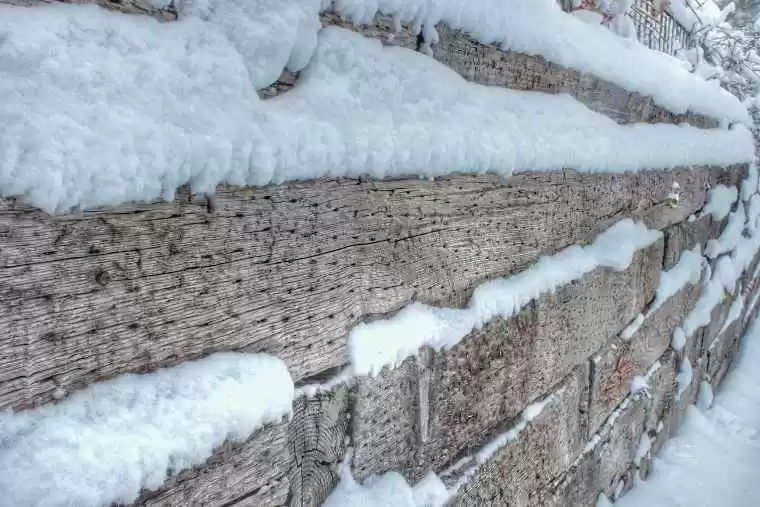
Using railroad ties for retaining walls is a cost-effective way to protect a sloped yard. The ties can be bought from any local lumber yard and cut to various lengths. When stacked together, railroad trestles add strength to the wall and are easy to transport.
They also can last for up to 25 years! The benefits of using railroad trestles in retaining walls are numerous. Keep reading to learn more about it.
Types of Retaining Walls Material, a Railroad Ties Can Be Used
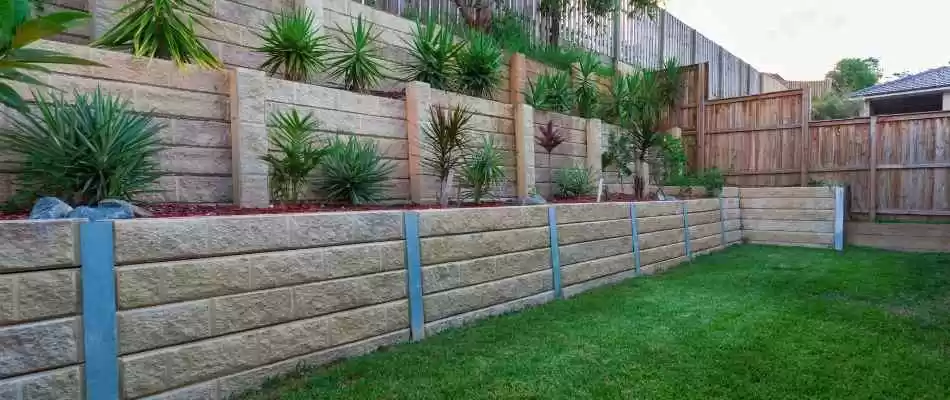
As an extra tip for you, here are some of the top materials railroad ties works perfectly on. Some main types are:
Brick
It is one of the safest and more secure material for railroad ties, but its work is a bit harder. For a better understanding, it is highly recommended to leave this type of job to professionals, since you need to know about bricklaying and how to use mortar.
Stone
Stone is one of the most outstanding types of retaining walls. It provides you a natural, magical look. Stone is not as difficult as it seems to work on. However, for better results, it’s also preferable to leave it in someone with experience with it.
Caged Rocks
Caged Rocks are a fantastic and very aesthetic option for retaining walls, and work very good with railroad ties.
Remember, it does matter the length of the wall you want to build, that it is your measure of the railroad ties. It won’t work if the retaining wall is heavier than the railroad tie.
Building a railroad tie in general can be difficult. But when you learn, you can build your retaining wall with confidence.
One of the main advantages of Railroad Tie is that besides they are constantly exposed to lots simply holding back dirt, their durability will be of 10 to 15 years and even more. But, if there is constantly exposed to moisture, rain, or water, the wall likely won’t last more than 5 to 7 years.
How to Build a Railroad Tie
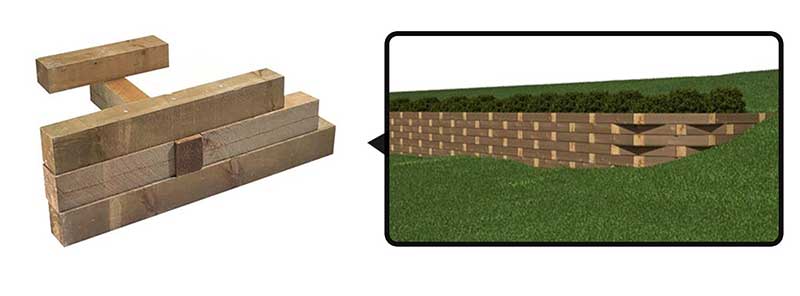
Before building a retaining wall, you need to make sure that the ground is level. Leveling the ground with a shovel, a level, or a foot will allow the retaining wall to sit flat.
Steps to railroad tie on top
The first layer of railroad ties should be placed on level ground. Measure the height and length of your incline, as well as the width of the retaining wall. Using the measurements, you can start building the trestle walls.
To build the retaining wall, place one railroad tie at the bottom of the trench. You should align the holes on the tie with the center of the ground. To level the ground, use a foot or a leveling board.
Before you place the first layer of railroad ties, measure the length and height of the retaining wall. Once you know these measurements, you can proceed to place the rebar.
Railroad Ties For Retaining Walls – Wall with Gravel
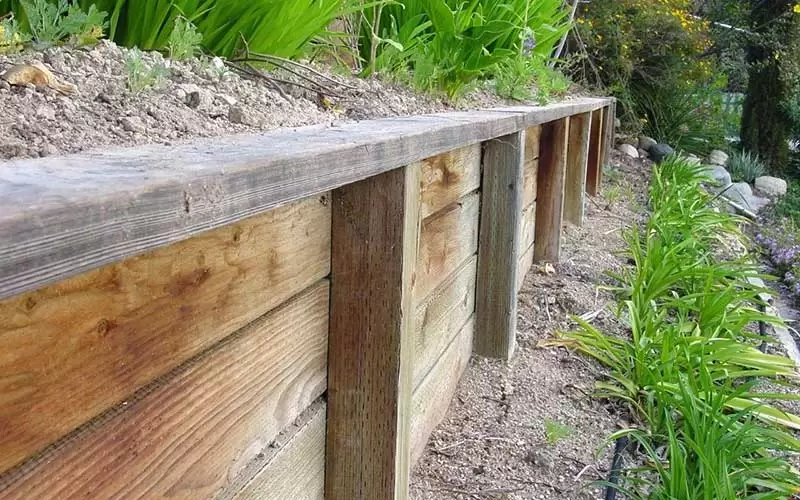
Once the rebar is in place, you can continue with the installation. You could complete a railroad tie retaining wall within a week. In addition to the rebar, you can add a layer of sod over the railroad ties to match the surrounding soil.
Then, you can add a decorative border to the retaining wall with a decorative wood plank or any other material you want to use. In addition, if you have a large lawn, you can use sod for the topsoil. For professional assistance, Moran Landscaping is the solution!
Gravel at a Time
You can construct a railroad tie retaining wall using a gravel foundation. This foundation will absorb excess water. The rebar will not affect the wall and will keep it stable. You can install the railroad ties on any level.
You should be sure to choose a level area to build the wall and to have a level area around the ties. When installing the rebar, you must also make sure to leave a space around the railroad ties to ensure proper drainage.
Remember that every time you add a railroad tie to the wall, you must secure it with bolts made specifically for this. You have the option to drill down a few inches, so you don’t have to have 12-inch screws or bolts. This is a normal way to secure them.
Home Improvement Tips for Railroad Ties For Retaining Walls
To install a railroad tie retaining wall, you need to drill pilot holes into the ties. After installing the ties, you can use cedar blocks to cover the overhanging areas. The cedar blocks will not absorb paint quickly. Once you set in place the railroad ties, it is essential to remember that the wall is not left up and will get damaged if moisture gets into it. After all, water will only damage the railroad trestles.
Railroads ties are perfect for landscaping too. People still use railroad ties for both decorative and functional purposes in landscaping applications, providing fantastic results and increasing their home value.
If the surface is chipped, clean or trim it. If there is rot, sand or saw it off. If you look holes in the rail rode tie, fill them with a hole filling compound, which is specifically designed to fill holes in railroad ties. Cover the sleeper with a clear protective compound.
The anskeep the retaining walls upright and keep them spaced at the correct width. Railroad sleepers are traditionally made of wood, but prestressed concrete is now also widely used.wer is to act early, so you can save money.
Get Professional Assistance
Now that you know the importance and the process of building a Railroad Ties For Retaining Walls, you are more than prepare to start your garden project.
For professional assistance and better results, you can call us! Fantastic and unique results are guaranteed with us!
If you want more information, don’t hesitate to contact us! Here at Moran Landscaping, we will be more than happy to assist you with your project.