- Tue, Dec 2025
- |
- Moran's Landscaping & Excavation LLC
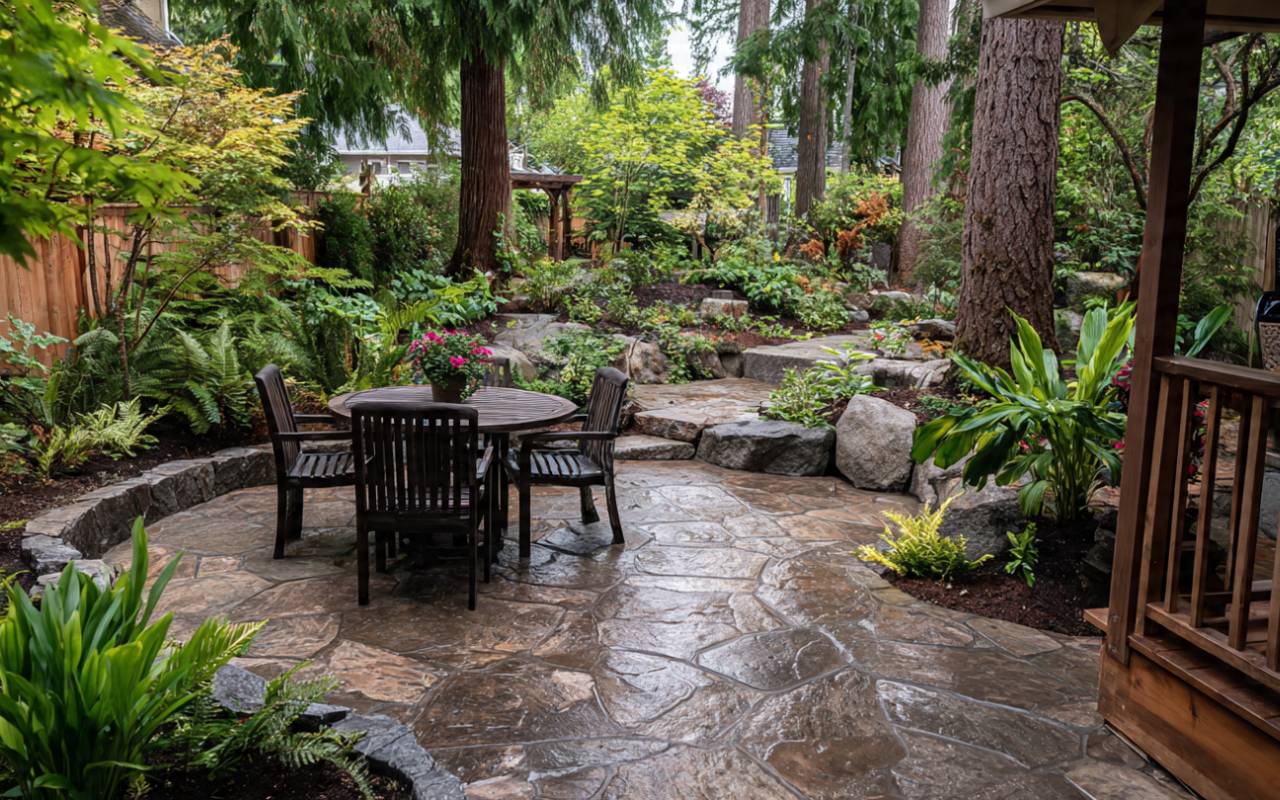
Paver Installation helps turn your outdoor space in Kitsap into a simple, beautiful extension of your home. Yet, keeping it in good shape through changing seasons can feel confusing at first. The right paver joint sand selection and smart winter cleanup steps make this job much easier.
Because Kitsap weather shifts from wet winters to mild summers, your pavers need regular, gentle care. With the proper joint sand and a clear winter routine, you protect both appearance and safety. These easy tips will help your patios and walkways stay strong and attractive all year.
Importance of Paver Care in Kitsap
Living in Kitsap means dealing with rain, frost, and damp days. After your Paver Installation settles, regular care keeps the surface from shifting, cracking, or growing weeds. A simple routine also protects your investment and keeps patios and walkways ready for family time outdoors.
- Reduce movement and gaps between pavers.
- Limit weed, moss, and mildew growth.
- Improve traction when the surface is wet or icy.
- Prevent small issues from turning into costly repairs.
Moreover, quick checks for loose edges or settled bricks help you fix problems while they are still small. In addition, pairing pavers with flat stone landscaping gives your yard more texture while staying easy to care for.
Selecting the Best Joint Sand for Pavers
Choosing the right material between paver joints is a key part of smart paver joint sand selection. This fine sand fills the gaps, locks each stone in place, and helps stop weeds and insects. Standard masonry sand costs less, while polymeric sand hardens when wet and resists erosion.
Polymeric sand vs regular sand
Regular masonry sand works well in light-use areas and drier spots. However, polymeric sand often performs better in Kitsap’s damp climate, especially on busy patios or driveways. It sets firm when moistened, so it does not wash away as easily in heavy rain.
- Masonry sand: softer joints, lower cost, easier to sweep in.
- Polymeric sand: firmer joints, better for rain and foot traffic.
- Choose based on climate, slope, and how you use the space.
If you are still deciding which surface fits your yard style, you can compare flagstone vs pavers for your yard before planning the joint sand.
Key Factors to Consider When Choosing Paver Joint Sand
Several simple details guide good paver joint sand selection. Because Kitsap is damp, many homeowners prefer sands that set hard when wet, such as polymeric blends. If your patio holds heavy furniture or sees frequent parties, choose a product designed to handle wear.
- Climate: Damp regions benefit from sand that locks when wet.
- Foot traffic: Busy paths need stronger, more stable sand.
- Color: Match the paver shade to hide dirt or pick contrast for a bolder pattern.
- Additives: Anti-fungal or weed-resistant features save time in rainy months.
Color also matters. A sand tone close to your pavers can hide minor stains, while a contrasting shade highlights patterns. Additionally, if your project includes natural stone, review the pros and cons of sealing flagstone so every surface around your home stays protected.
How Joint Sand Helps Paver Durability
Joint sand does much more than fill empty spaces. When compacted correctly, it helps lock your pavers together so weight spreads evenly across the surface. Therefore, the stones move less, and your patio or walkway stays flatter and safer to walk on.
In rainy regions, tightly packed sand also slows water from seeping below the pavers. This simple barrier reduces the risk of washout and frost heave. Furthermore, quality sand makes it harder for weeds, ants, and moss to take hold, keeping the layout neat and low maintenance.
Winter Cleanup Tips for Pavers in Kitsap
Cold, wet months in Kitsap can stress any Paver Installation if dirt, leaves, and ice stay on the surface. Before winter fully sets in, start by clearing leaves, pine needles, and loose debris. Trapped organic material holds moisture, which encourages moss and mildew.
Gentle cleaning methods for pavers
Use a stiff push broom, not a metal rake, to avoid scratching the pavers. Next, lightly rinse with a garden hose on a gentle setting. If you see stains, a mild soap and water mix usually works well. Avoid harsh chemicals that can harm the sand or paver finish.
- Sweep debris in one direction into small piles.
- Rinse gently rather than using heavy pressure.
- Spot clean stains instead of scrubbing the whole surface.
- Let the area dry fully before checking the joints.
Tools and Equipment Needed for Winter Paver Maintenance
Having the right tools on hand makes winter care faster and safer. A plastic snow shovel helps remove snow without chipping paver edges. Likewise, a stiff-bristled push broom clears slush, leaves, and dirt while keeping the surface steady.
Basic winter paver care kit
- Plastic snow shovel for snow and light ice.
- Stiff push broom for daily sweeping.
- Garden gloves and kneepads for comfort.
- Hand tamper or rubber mallet for settling fresh sand.
- Bucket, sponge, and pH-neutral cleaner for mildew spots.
If your yard combines stone paths and pavers, a quick look at whether you prefer flagstone or pavers can guide which tools and cleaners you keep nearby.
Step-by-Step Guide to Winter Cleanup for Pavers
First, sweep the entire area, working in one direction to gather debris. Then, use a garden hose on low pressure to rinse away remaining dust and dirt. If you see mold or mildew, apply a gentle cleaning solution, scrub with a soft brush, and rinse again.
After the pavers are fully dry, inspect the joints for low spots. Where sand has washed out, spread new joint sand and sweep it back and forth so it falls into the gaps. Gently tamp the surface, sweep away extra sand, then lightly mist with water so the new sand settles.
Preventing Damage to Pavers During Harsh Winter Conditions
Salt and strong de-icing products may seem helpful, but they can damage pavers and joint sand over time. Instead, use sand or a non-corrosive ice melt product to improve traction. Apply only what you need to stay safe when surfaces are slick.
Additionally, remove snow and ice often to limit freeze–thaw stress. Use plastic shovels and avoid metal tools that can scratch or chip edges. A calm, steady snow removal routine keeps the paved area stable and reduces the chances of cracks and lifted stones.
Expert Tips for Year-Round Paver Maintenance
Simple habits protect your pavers in every season. Routine sweeping and occasional rinsing remove dirt before it settles in joints. In spring, check for sand loss and refill where needed so your Paver Installation keeps its neat, even look.
Easy seasonal checklist
- Spring: Inspect joints, refill sand, and check edges.
- Summer: Rinse occasionally and remove outdoor spills quickly.
- Fall: Clear leaves often to prevent stains and moss.
- Winter: Follow your gentle cleanup and de-icing plan.
Every few years, you may add a light sealant after a deep clean to limit stains and water soaking in. For local help, homeowners in Bainbridge Island can turn to Bainbridge Island paver experts, while residents in Poulsbo can work with Poulsbo paver specialists.
Frequently Asked Questions
How often should I replace joint sand between my pavers?
Most Kitsap homeowners check joint sand once a year, usually in spring. Replace sand where gaps appear, or where rain has washed it low. High-traffic areas, driveways, or sloped paths may need touch-ups more often, especially after strong storms or heavy winter use.
Can I pressure wash my pavers without ruining the joints?
You can pressure wash pavers carefully, but you should use a low setting and a wide spray tip. Even then, expect to lose some joint sand. Plan to clean first, let the surface dry, then sweep in fresh sand afterward to keep your pavers stable and safe.
What joint sand works best for Kitsap’s wet climate?
Because Kitsap is rainy, many homeowners choose polymeric sand. It hardens slightly when moistened, so it stays in place longer. Nevertheless, the best choice also depends on traffic and slope. Talking with a local paver expert can help you match the sand to your exact layout.
How can I get my pavers ready before winter starts?
Before winter, sweep thoroughly, remove stains, and rinse gently. Next, inspect joints and add fresh sand where needed. Clearing nearby plants and trimming shrubs reduces extra debris. Finally, gather your winter tools so you can manage snow, ice, and standing water as soon as they appear.
Should I seal my pavers like I might seal flagstone?
Many homeowners choose a light sealer to protect pavers from stains and water. However, pavers and flagstone behave differently, so you should always follow product directions. If you are comparing options, review how sealing affects natural stone by reading about the pros and cons of sealing flagstone.
Ensuring Longevity and Beauty of Your Pavers
Maintaining your pavers in Kitsap takes planning, but each step is simple. From smart Paver Installation choices to gentle winter cleanup, good habits protect both durability and style. By clearing debris, refilling joints, and managing freeze–thaw cycles, you keep your outdoor spaces ready for daily life.
When questions come up or a project feels too big, you can contact our team for local guidance. With steady care and the right paver joint sand selection, your patios and walkways will stay welcoming, safe, and beautiful for many seasons.